
Last updated November 15, 2026
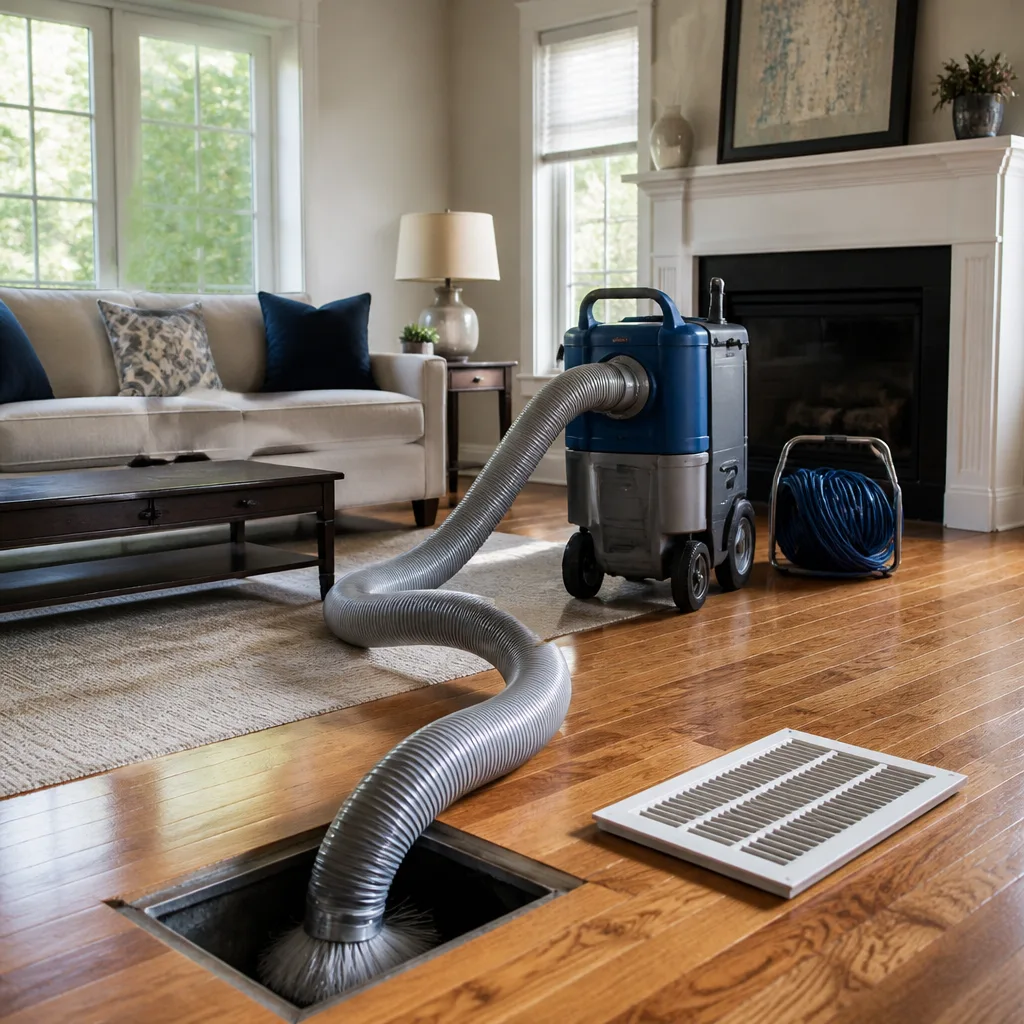 Whole-home duct cleaning
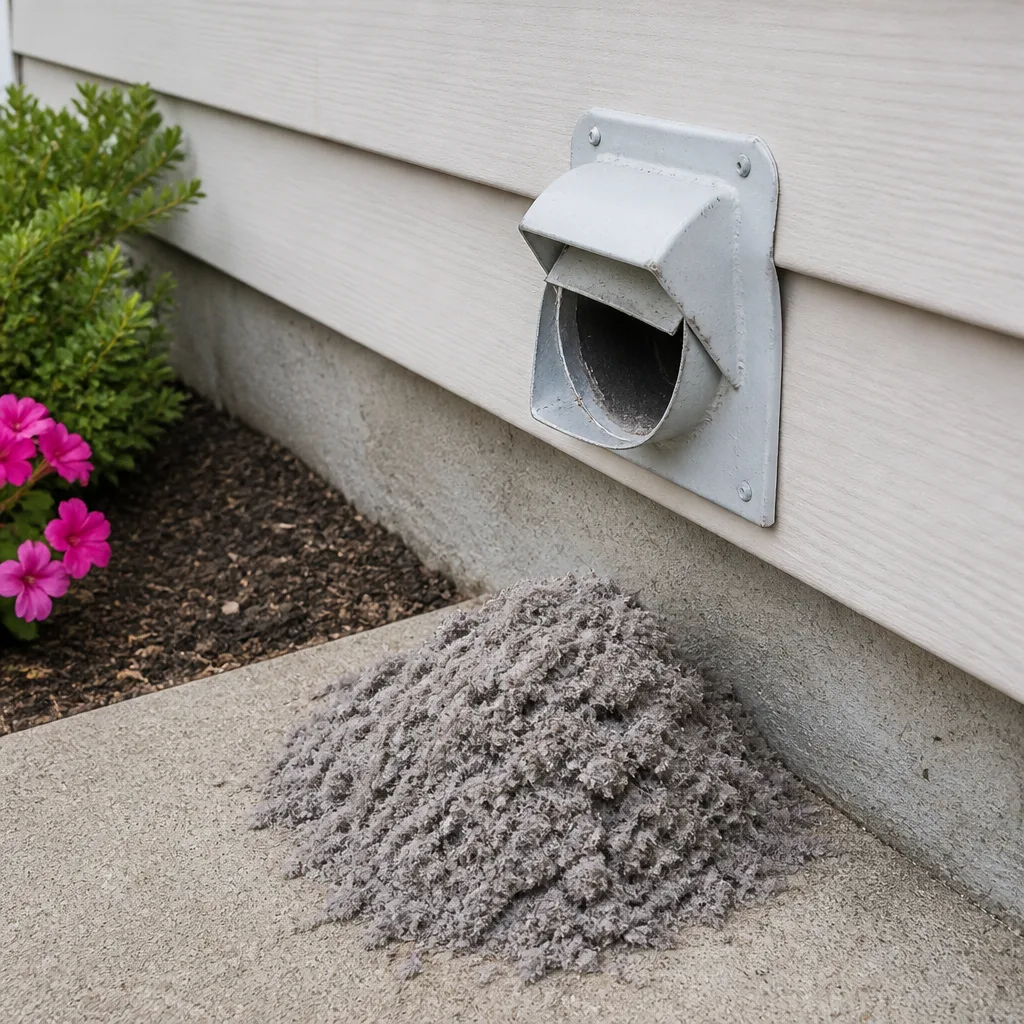 Dryer vent cleaning
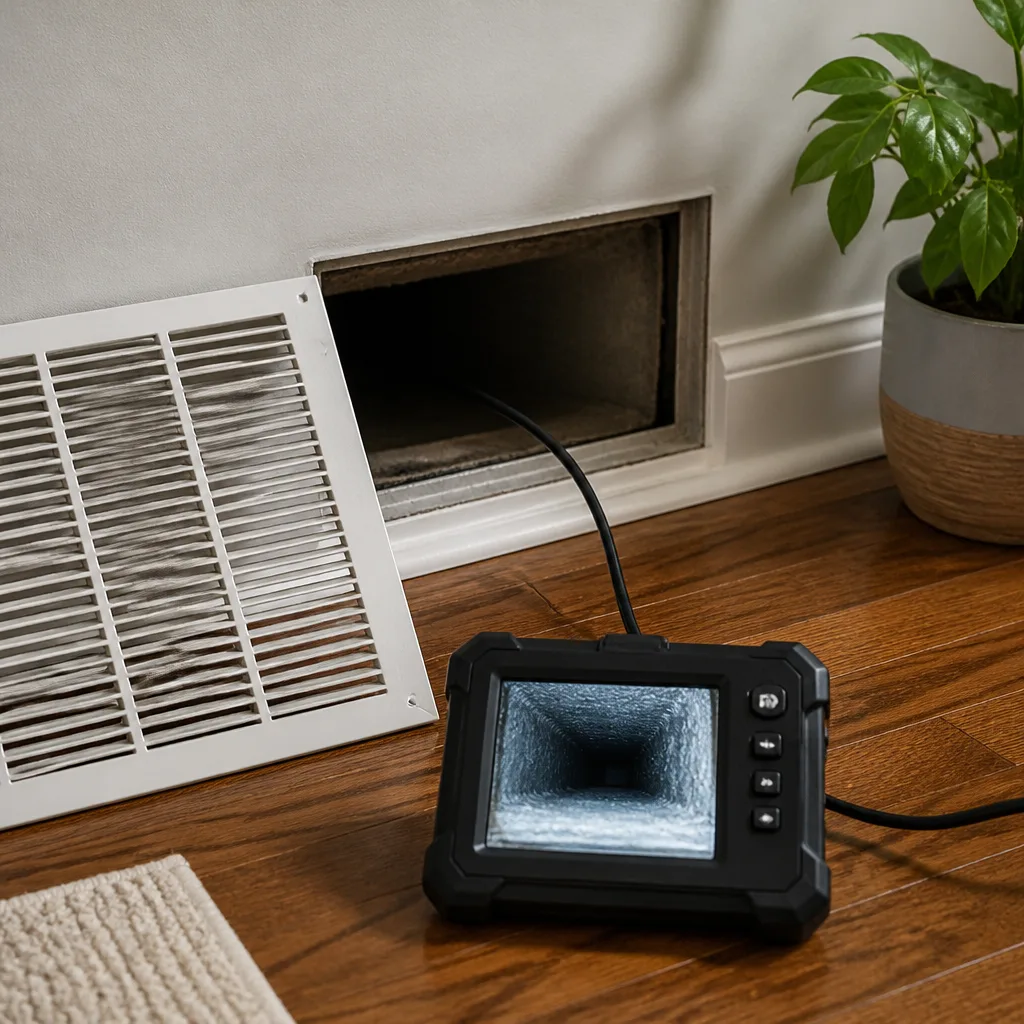 Camera inspection
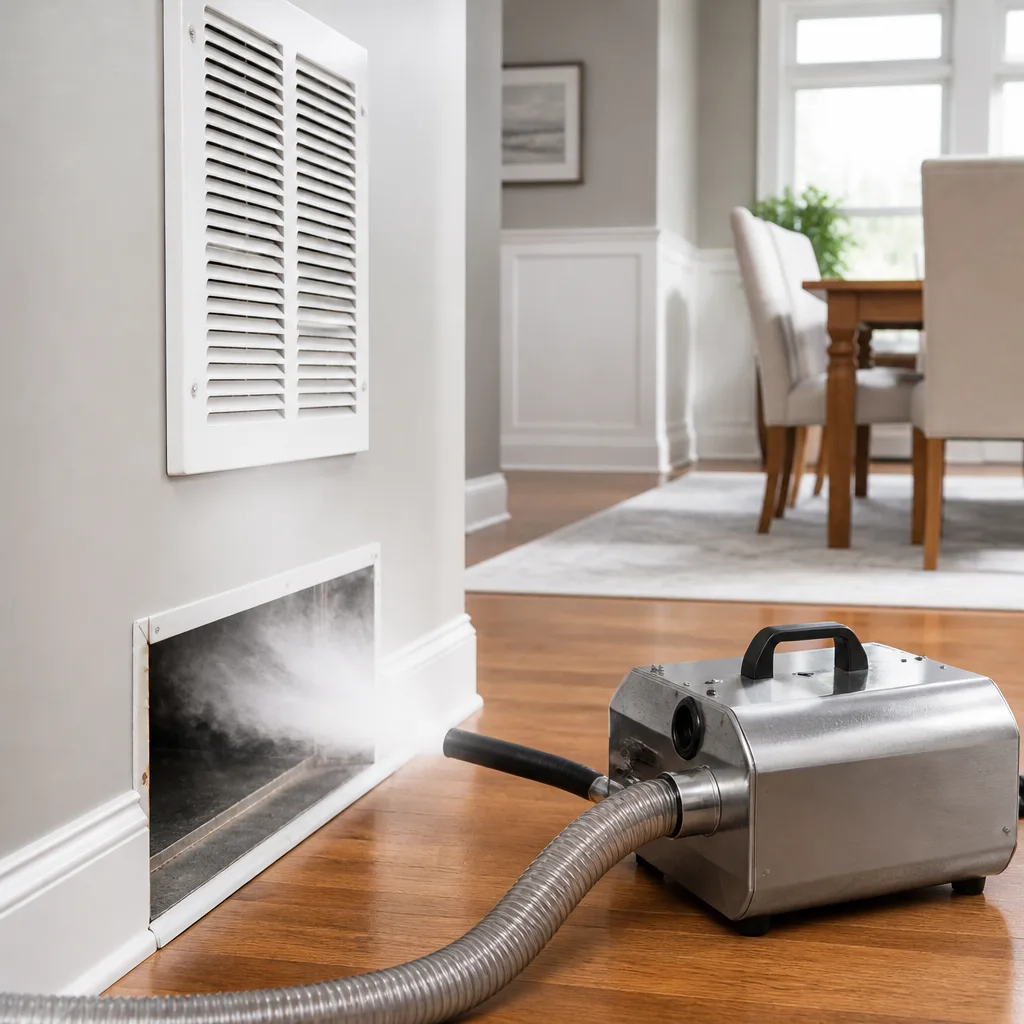 Sanitizing & deodorizing
Whole-system duct and dryer vent check with before-and-after photos - you see exactly what came out of your vents
That "$99 whole-house special" is a bait ad - the real number appears once they are in your hallway, or the "clean" is a shop-vac at the register. We photograph the inside of your ducts before and after instead.
Air Duct Cleaning Maintenance Checklist for Durham Homeowners
Most duct maintenance checklists are just filter replacement reminders with extra steps. They tell you to swap a filter every ninety days, maybe vacuum a grille, and call it maintenance. But filter swaps tell you nothing about early biological growth on the inside of a plenum, a flex duct joint that’s quietly leaking in an attic, or contamination sitting on the return side where a filter never reaches. The problems that actually drive expensive duct cleaning are invisible from the floor register. What follows is a checklist built around what you can observe, smell and measure, with timing triggers that fit Durham’s humidity and pollen cycles rather than an arbitrary calendar. By the end you’ll know what each clue means, and when a checklist stops being enough.
Quick Answer
A homeowner duct maintenance checklist should focus on observable indicators rather than calendar reminders. Check registers and accessible duct sections for dust color and texture, note any odor signatures, log static pressure readings over time, and inspect flex joints after Durham’s August humidity peak. When you see visible biological growth, post-fire soot, or rodent evidence, stop the DIY checks and get professional assessment with commercial containment equipment.
Styles & brands we work with
- Whole-home duct cleaning
- Dryer vent cleaning
- Camera inspection
- Sanitizing & deodorizing
Table of Contents
- The Sensory Inspection Protocol: Odor Signatures
- Visual Checkpoints at Registers and Accessible Ducts
- Tracking Static Pressure Changes Over Time
- Durham-Specific Timing Triggers
- The Filter Reality Check
- The Return Side Most Homeowners Ignore
- The Dryer Vent: A Fire-Prevention Check, Not a Convenience
- When the Checklist Stops Being Useful
The Sensory Inspection Protocol: Odor Signatures
Your nose is a diagnostic instrument, and most homeowners never use it that way. When you walk through the house and the air from a register has a smell, that smell is chemical information about what’s growing or degrading inside the system. The trick is distinguishing the signatures, because a musty smell and a burnt smell point to completely different problems in different locations. Run this check on a cool morning when the system first kicks on and the house hasn’t been aired out yet.
Here’s how the three main signatures break down:
- Musty or earthy. This is the classic biological signature. It usually points to moisture sitting on a surface long enough for growth: a damp evaporator coil, a wet plenum, condensation in flex duct sagging in a hot attic. In Durham’s humid summers, attic flex runs are the usual suspect. The smell often gets worse when the system has been off and then runs, because the first blast pushes stalled air through.
- Burnt or acrid. This points to heat, not biology. A failing blower motor, an overheating component in the air handler, or wiring insulation breaking down. This is not a cleaning issue. If the burnt smell is persistent, stop running the system and have the HVAC side checked before you think about duct cleaning.
- Sulfurous or rotten-egg. This is the one to take seriously. A sulfur smell near the air handler or ductwork can indicate a gas issue or a dead animal in the system. Treat it as an emergency. Leave the area and call the gas utility or a professional immediately. Do not run the system to “clear it out.”
Write down what you smell, where in the house you smell it strongest, and when it shows up (system on, system off, first run of the day). That log is exactly what a technician needs to locate the contamination source rather than guessing. Musty air in a bedroom closest to the return typically means the problem is upstream, at the return plenum or the air handler, not at the supply register.
Visual Checkpoints at Registers and Accessible Ducts
Dust is not just dust. Color and texture are clues about where contamination came from, and they behave differently under magnification. A homeowner with a flashlight and a damp white cloth can gather real information here. Pull the supply register covers in two or three rooms and look up into the boot with the light. Then find any accessible duct section, often near the air handler in a closet or in the attic at the first run, and look at the interior surface.
- Pull two or three supply registers. Shine the light up into the boot. Note the dust film: is it even, or concentrated on one side? Uneven buildup often means airflow is bypassing a seal or a joint is leaking.
- Wipe a small section with the damp cloth. Light gray, dry, powdery dust is typical household accumulation. It’s ordinary.
- Look for dark, greasy, or fibrous buildup. Black or dark brown smears, especially with a slightly wet feel, suggest biological activity or oil mist from a kitchen or furnace source. Fibrous, stringy material can be insulation breakdown or construction debris still shedding from a renovation.
- Compare the return side to the supply side. If the return grille and plenum are noticeably dirtier than the supplies, contamination is loading on the intake where a filter only catches part of it.
- Check for debris type clues. Drywall dust and sawdust look different from biological growth. Construction debris is gritty and pale; biological buildup is darker and often clumped. Under a cheap magnifier the difference is obvious.
Take phone photos of each checkpoint with the register in frame for scale. A technician reviewing your photos can tell in seconds whether what you’re seeing is normal accumulation or a system that needs cleaning. That’s the difference between a filter change and a full air duct cleaning job.
Tracking Static Pressure Changes Over Time
This is the step almost no homeowner does, and it’s the most useful. Static pressure is the resistance air meets pushing through your duct system. When ducts are clean and sized right, the pressure sits in a stable range. As dust loads up, filters clog, or a flex run gets crushed, pressure creeps upward. Log it and you catch blockages before they show up as uneven cooling or a straining blower.
You don’t need to be an HVAC tech to keep a simple log. A basic handheld manometer, or a digital differential pressure gauge, is enough, plus a small port or test point where your HVAC technician can show you how to read it. Here’s a simple approach:
- Pick a stable moment. Take readings with the system running and the house in a normal state, not right after a filter change and not during a heat wave.
- Log the reading with the date. A simple notebook or notes app works. Date, reading, and anything that changed (new filter, weather, renovation).
- Read on the same setting each time. Same fan speed, same filter type in place.
- Watch the trend, not the single number. One reading tells you little. A rising line over several months is the signal.
- Investigate when pressure climbs. A steady rise usually means a loaded filter first, then a partial blockage or a sagging flex duct. Check the filter before assuming a cleaning is due.
Rising static pressure is the earliest objective sign that something is restricting your system. Catching a partially collapsed flex run or a crushed joint early is a duct repair; catching it late is often a bigger cleaning and repair job. That’s a big part of the reason we keep a measurement log approach in the field and walk homeowners through it. If you want the full picture of what whole-system cleaning involves, our air duct cleaning page covers the process step by step.
Durham-Specific Timing Triggers
Calendar-based reminders are a poor fit for this region. Durham’s climate has two distinct moments that actually matter for duct health: the August humidity peak, and the close of spring pollen season. Those are the two triggers worth building your checks around, because each one leaves a different signature in the system.
After the August humidity peak. Late summer is when attic flex duct and plenum surfaces have been exposed to the highest moisture load of the year. Condensation on a cool coil feeding a humid space, or a sagging flex run in a 100-plus-degree attic, is where early biological growth takes hold. The weeks after the humidity breaks, often late August into September, are when you should re-run the odor check and inspect accessible flex joints. Look specifically for damp spots, discoloration at the seams, or a musty smell that wasn’t there in June. This is also when a compromised joint shows up: flex duct connections can loosen as materials expand and contract across the summer.
After spring pollen season closes. Pollen is a fine particulate, finer than most household dust, and it loads onto return grilles and the first stretch of return duct. When pollen season winds down, typically late spring, check the return grille and wipe the return plenum surface. A heavier-than-usual pollen film on the return side tells you the system took a real load this year. Clean the grilles and note whether the return plenum needs attention.
Two more local notes. Older homes in neighborhoods like Trinity Park and Watts-Hillandale, and around downtown Durham, often have original metal ductwork with seams that let in more dust than modern sealed systems, so seam buildup is worth a look. In areas seeing steady renovation, such as the fast-growing south Durham corridor near Southpoint, construction debris can enter ductwork during projects. If you’ve had work done, check registers for drywall dust and grit for a few weeks afterward.
The Filter Reality Check
Filters matter, but the internet has turned filter replacement into the whole checklist. Here’s the honest version. A filter is there to protect the equipment, not to make your ducts clean. It catches a percentage of particles on the return side and lets the rest through, and it does nothing for the supply side, the plenum, or the interior surfaces dust clings to. Changing it religiously still doesn’t mean your ducts are clean.
What you should actually pay attention to is the filter’s condition and what it’s telling you. A filter that looks gray after a month is normal in Durham’s pollen-heavy springs. A filter that’s discolored unevenly, or that you find pulled off its frame and bypassing at the edges, means air and dust are getting around it into the system. Check the fit, not just the date. A filter that doesn’t seat properly in its slot is a leak, and leaks undo everything downstream.
- Replace on condition, not on a fixed schedule. Check monthly, swap when it’s visibly loaded.
- Match the filter to the slot and the system’s rating. A filter too thick for the return can choke airflow and raise static pressure.
- Seal the filter frame edges if you see light or dust bypass. A snug fit is worth more than a fancier filter.
- Don’t rely on a filter to fix a musty smell. Odor signals biological activity that the filter didn’t catch.
If you run an air duct cleaning service checklist and the filter is the only item you’re actioning, you’re covering maybe a quarter of what needs watching.
The Return Side Most Homeowners Ignore
Supply registers get all the attention. The return side is where contamination usually loads first and where most DIY checks fall short. The return grille and plenum sit between your living space and the air handler, pulling room air (with all its dust, pet hair and pollen) into the system. It catches the coarsest particles because it’s first in line. If there’s dust to find, this is where you’ll find it.
Run a simple monthly return check:
- Remove the return grille cover. Vacuum the face of the grille with a brush attachment; this is safe and useful.
- Look past the grille into the return boot and plenum. Shine the light. Note the dust depth and color.
- Wipe a small patch of the plenum interior. Compare the color to your supply-side wipe. If the return is dramatically dirtier, contamination is loading on intake.
- Check for pet hair and lint. Heavy pet hair on the return is a sign cleaning is due sooner rather than later, and it tells a technician the home’s particulate load is high.
- Sniff at the return with the system off. A musty return is a strong indicator the problem is upstream of the air handler and needs professional assessment.
The return side is also where a commercial-grade vacuum matters. Consumer units can’t pull the fine particulate out of a plenum the way an industrial system can. That’s a real equipment difference, and it’s a big part of why we work with Nikro industrial vacuums and Rotobrush contact-cleaning systems. Our technicians have up to 13 years of experience reading exactly this kind of buildup from the return side.
The Dryer Vent: A Fire-Prevention Check, Not a Convenience
A dryer vent isn’t a maintenance item in the ordinary sense. It’s a fire-prevention item. Lint accumulates in the vent run, restricts airflow, and over time the heat buildup and trapped lint create a genuine fire hazard. This isn’t an upsell to tack onto a cleaning visit. It’s one of the top residential fire risks, and lint buildup is a big reason for it.
Your checklist should log the dryer vent the same way it logs duct checks, and here’s what to observe:
- Drying time creep. If a load that used to take one cycle now takes two, the vent is likely restricted. Note the change date.
- Heat at the back of the dryer or the outside vent. A hot exterior vent hood or a dryer that feels hot to the touch after a cycle needs attention.
- The exterior vent hood. Check that the flapper opens fully and there’s no lint matted around it or bird nesting in it.
- The transition duct behind the dryer. Crushed or kinked flex behind the appliance is a common restriction, especially if the dryer was recently pushed back against the wall.
- Lint in the run. If you can see lint accumulation in accessible sections of the duct run, it needs professional clearing, not a DIY snaking.
When a dryer vent check turns up heavy buildup, that’s a job for professional dryer vent cleaning. You can read more about the fire-safety case and the process on that page. Keep your log: dryer type, drying time, dates of any changes. That record tells a technician whether the problem is the appliance or the vent.
When the Checklist Stops Being Useful
A homeowner checklist is a screening tool, not a remediation tool. It’s useful up to a clear line. Certain conditions mean the DIY phase is over and it’s time for professional assessment with commercial-grade equipment, because the risks are beyond what a shop vac and a flashlight can address safely.
Stop the checklist and call a professional if you find any of these:
- Visible biological growth inside ductwork. Anything that looks like mold, mildew, or dark fuzzy growth on duct surfaces is a contamination problem. Disturbing it with a consumer vacuum can spread spores through the house. This needs closed containment and professional filtration to handle properly.
- Post-fire soot. After a fire or a significant smoke event, soot coats duct surfaces and carries odor and particulate. This is a remediation-level job, not a routine cleaning. Don’t run the system on soot-coated ductwork.
- Rodent evidence. Droppings, nesting material, or chewed flex duct. Rodent contamination poses real health risk and often comes with structural damage to the duct run itself. This is a professional assessment before anything else.
- Persistent sulfurous odor. Treat as an emergency, as noted earlier. Leave the area and call the gas utility or a professional.
- A duct that’s visibly damaged or disconnected. Crushed flex, torn duct, or a joint that’s come apart needs a proper air duct repair assessment, not a cleaning.
This is where the equipment gap is the whole story. A commercial job needs a Rotobrush contact-cleaning system to work the duct surfaces properly, a Nikro industrial vacuum to move the volume, and Abatement Technologies air scrubbers to contain contaminants during the work rather than redistributing them through the house. That’s the difference between cleaning ducts and actually removing what’s in them. When we can supply and install air quality products like Honeywell and Aprilaire, it’s because cleaning and filtration belong together, not because those brands are decoration. Air quality starts at the duct.
Common Mistakes to Avoid
- Treating filter changes as the whole checklist. Filters protect the equipment; they don’t make ducts clean. Skip the sensory and visual protocol and you miss everything the filter doesn’t catch.
- Ignoring odor signatures because “the house always smelled like that.” A musty smell that shows up in the humid Durham summer and fades in fall is telling you something. Log it and investigate rather than accepting it.
- Skipping the return side. Most homeowners check supply grilles and never look at the return plenum, where contamination loads first. A supply-only check will look clean while the return is the problem.
- Cramming the filter into the wrong slot. A filter that bypasses at the edges, or one too thick for the return, lets dust into the system or chokes airflow. Fit matters as much as rating.
- Waiting for visible mold before acting. By the time biological growth is visible, you’re already at a remediation-level problem. Catching the musty smell and damp flex joints early is the point of the checklist.
- Assuming a crushed flex run is a cosmetic issue. A collapsed or kinked run in a Durham attic raises static pressure and starves rooms of airflow. It’s a duct repair, not an aesthetic detail.
- Letting the dryer vent slide because “it still dries.” A dryer that takes longer than it used to is signaling a restricted vent and a fire risk. Treat it as safety maintenance, not convenience.
See the difference
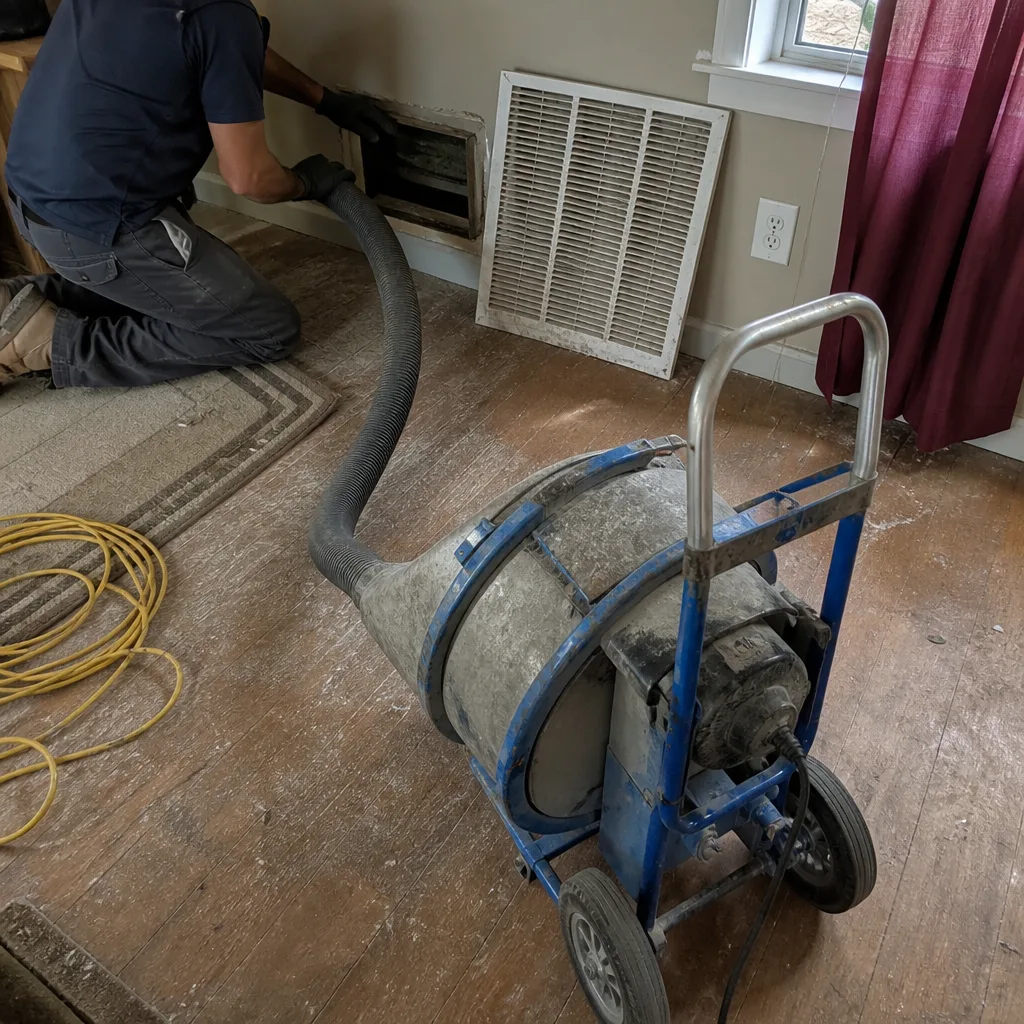 Before
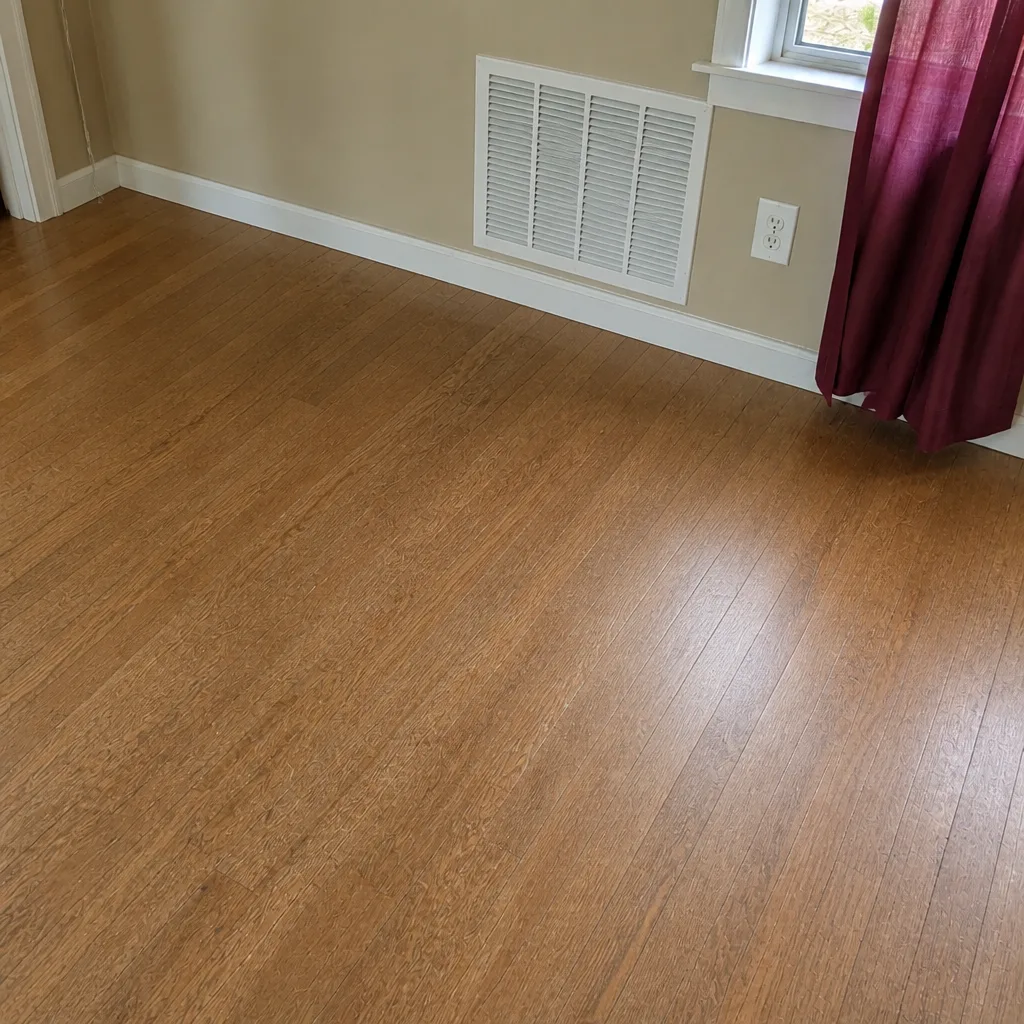 After
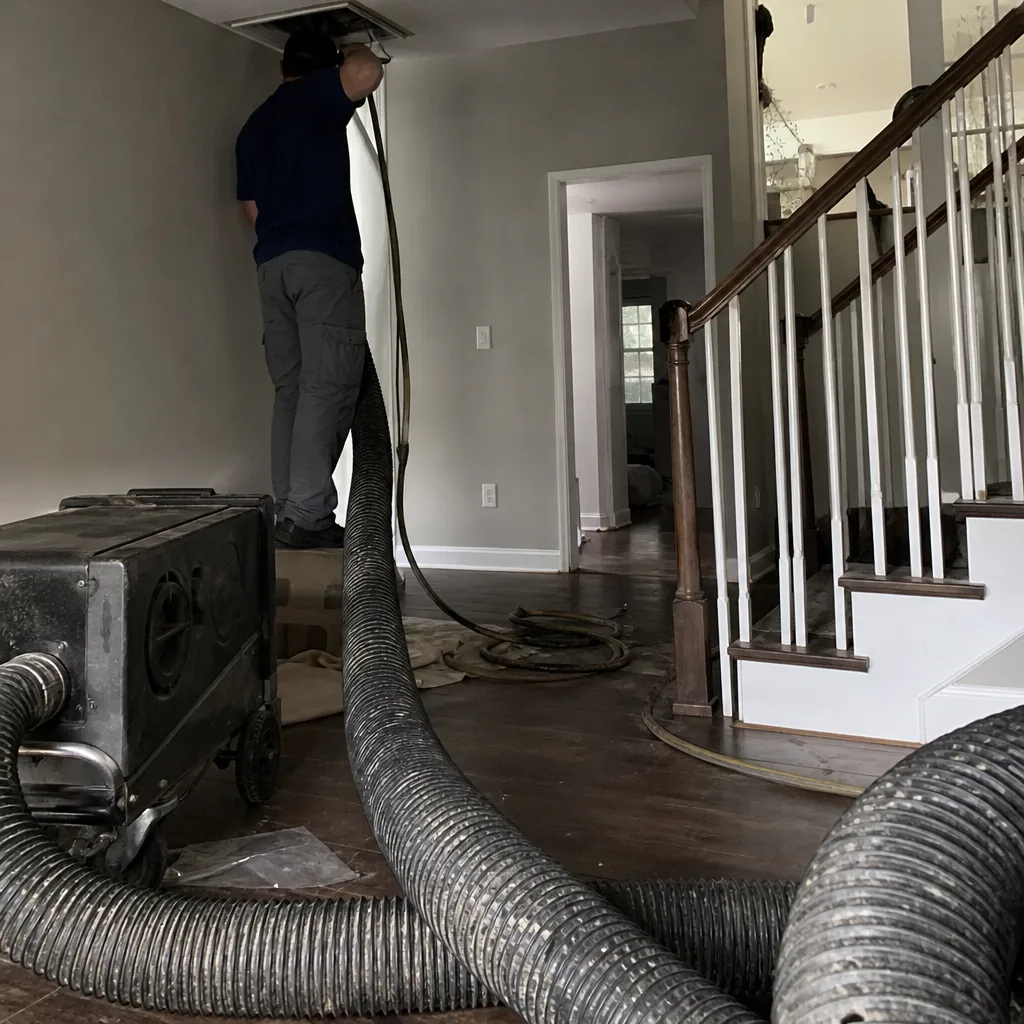 Before
 After
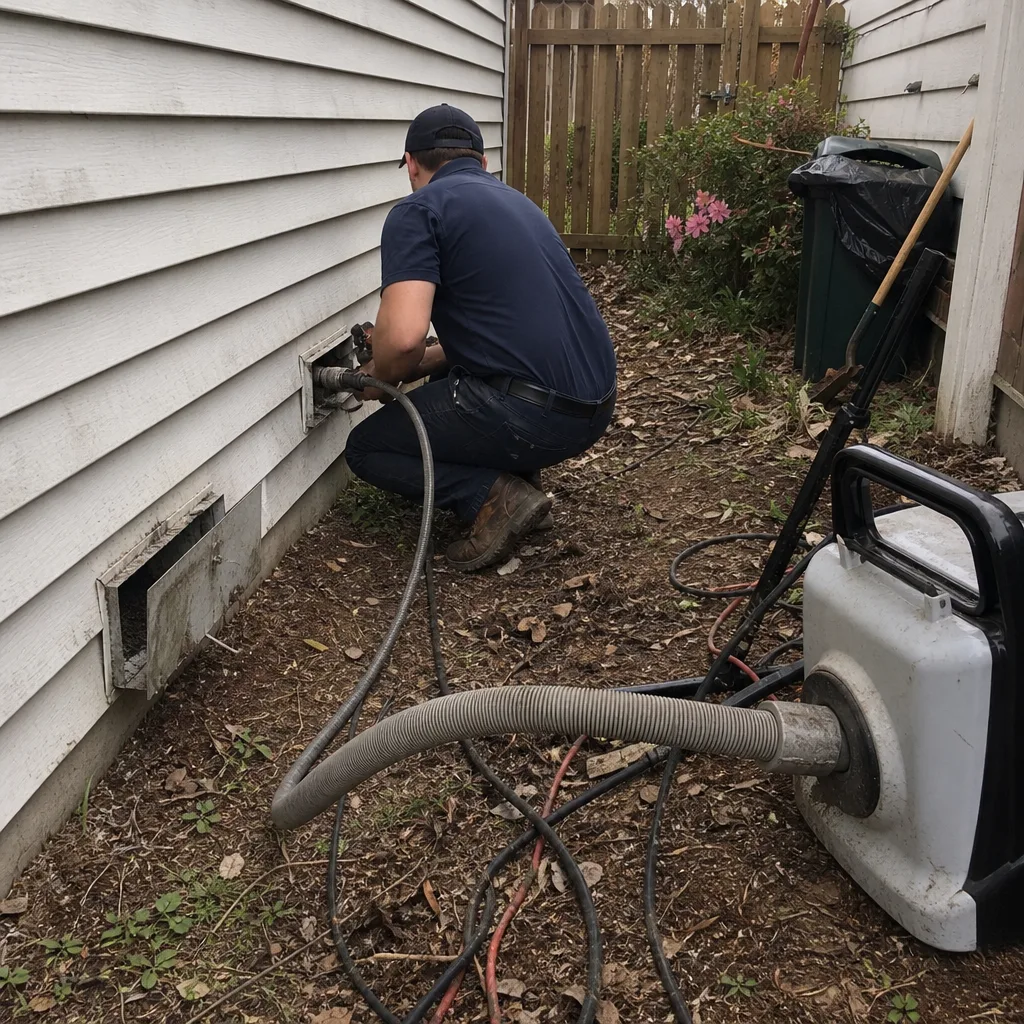 Before
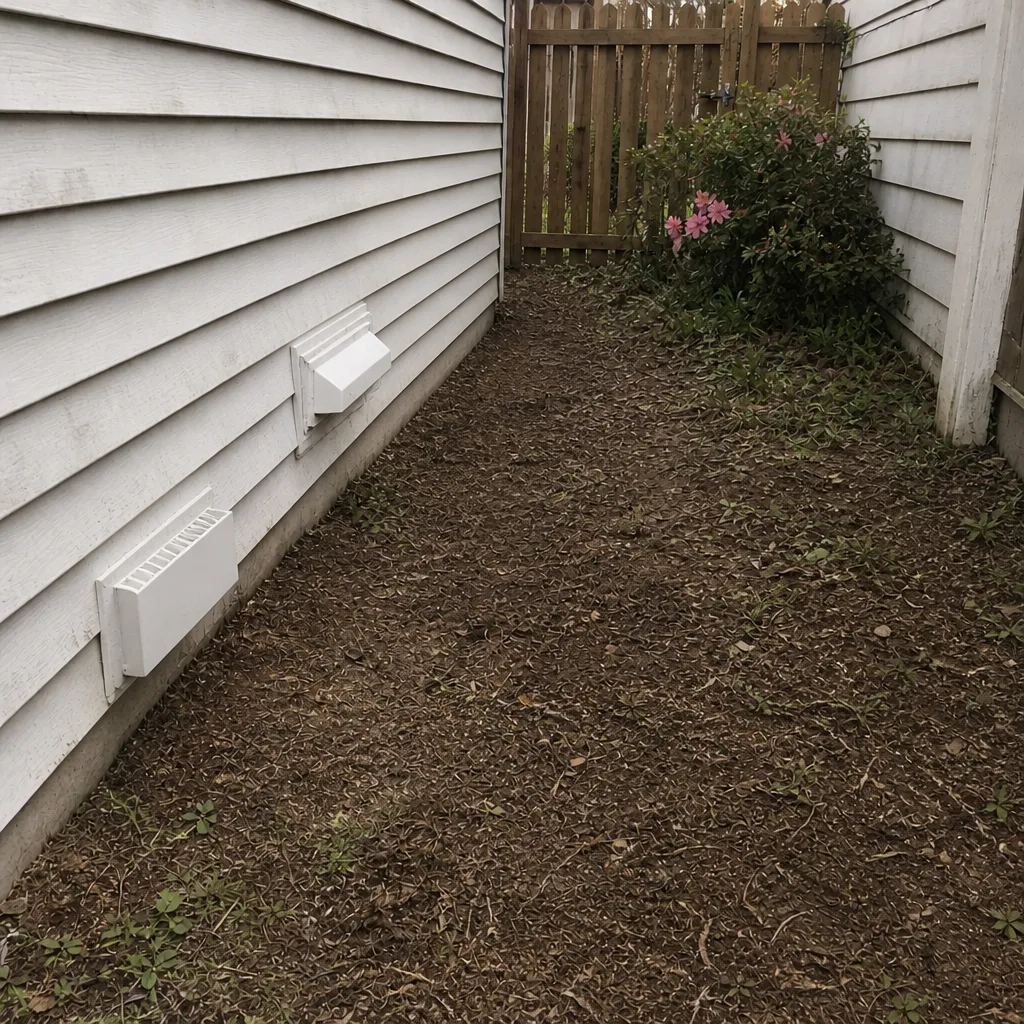 After
When to Call a Professional
Call a professional when the checklist turns up the conditions that require commercial equipment and containment: visible biological growth, post-fire soot, rodent evidence, damaged or disconnected duct, or a persistent musty smell you can’t trace. Call when static pressure is climbing and a filter change doesn’t resolve it, because that usually means a blockage or a failing flex joint. Call when you’ve never had the ducts assessed and the home is older with original metal ductwork. Call for dryer vent clearing when lint buildup or drying-time creep shows the vent is restricted. A professional assessment with proper cleaning, repair, and air quality products is the next step once your own checks have done their job.
Duct Cleaning Durham offers free estimates in Durham. Call (866) 486-6152. We answer 24/7. Fast dispatch from 7am to 7pm, Sunday through Friday.
Frequently Asked Questions
Most Durham homes do well with professional cleaning every few years, not on a fixed annual schedule. The better trigger is a condition: a persistent musty smell, heavy return-side contamination, a renovation, or persistent static pressure rise. Use the checklist to tell you when conditions warrant it, rather than counting months. Call (866) 486-6152 for an exact quote; estimates are free.
Duct cleaning in Durham is priced per system, by written estimate, based on the size and condition of the ductwork, so there’s no single number until a professional sees the system. A whole-system cleaning typically covers the return side, supply side, plenum and the components of the air handler that a cleaning reaches. Call (866) 486-6152 for a free estimate; the written estimate sets the final price.
Cheap quotes usually mean cheaper equipment: portable shop-style vacuums and a quick surface pass, not commercial containment and industrial vacuum power. The low number tends to reflect what isn’t being done rather than a better deal. Ask what equipment will be used, whether an air scrubber is running, and whether the return side is included. Call (866) 486-6152 for a quote that lists what’s actually happening; estimates are free.
Ask for before-and-after photos of your own ducts, not generic stock images. And walk the job with the technician. With a commercial cleaning, a contained vacuum and scrubber running during the work is visible, and the change at registers and plenums is checkable. If a company can’t show you your own system, that’s your answer. Call (866) 486-6152 for an estimate; the written estimate spells out the scope.
A musty smell is a sign of moisture and likely biological activity somewhere in the system, often a damp plenum or a sagging flex run in a humid Durham attic. Don’t try to clean it yourself. Turn the system off if the smell is strong, and get a professional assessment with proper containment. Call (866) 486-6152 for an estimate; estimates are free.
No. The checklist is a screening tool that helps you catch early-stage problems and know when to escalate, but it can’t clean ducts, repair a crushed flex joint, or contain contamination. It’s a way to spend your maintenance attention where it counts. When your checks turn up a condition that needs commercial equipment, call (866) 486-6152 for a free estimate in Durham.
The Bottom Line
A useful duct maintenance checklist is a diagnostic framework, not a filter reminder. Watch for the three odor signatures, and treat sulfurous and burnt smells as immediate calls. Check registers and return plenums for dust color and texture, log static pressure over time, and time your checks to Durham’s August humidity peak and the close of pollen season. Watch the dryer vent as a fire-safety item. And know the line where the checklist stops: visible biological growth, soot, rodent evidence, or damaged duct needs a professional with commercial containment. Do the checks yourself, and escalate when they say to.
Call (866) 486-6152 for a free estimate in Durham. We answer 24/7. Fast dispatch from 7am to 7pm, Sunday through Friday.
Written by the team at Duct Cleaning Durham.